
Another one of those things that I have a real sweet tooth for is what we Germans call nougat and what everyone else seems to call hazelnut praline (but to be honest, there's hardly anything sugary that I don't have a sweet tooth for.) For some reason, though, you only seem to be able to get the good stuff around Christmas and Easter, while throughout the year, most nougat-y goodness seems to vanish from the stores. So I always need to stock up around Christmas. Unfortunately, this results in stocking up on body fat as well, but hey - it's winter and I freeze easily, so there. Two birds, one stone.
So this year (after a somewhat botched attempt last year that I don't wanna talk about), I decided to actually make some cookies incorporating my beloved nougat-slash-praline and this is how it turned out.
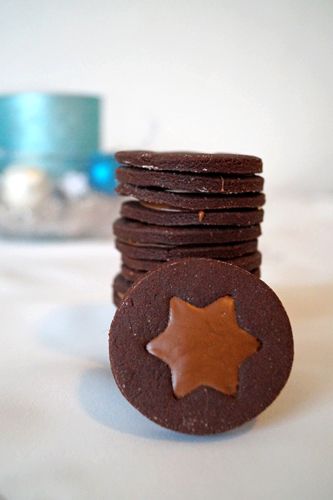
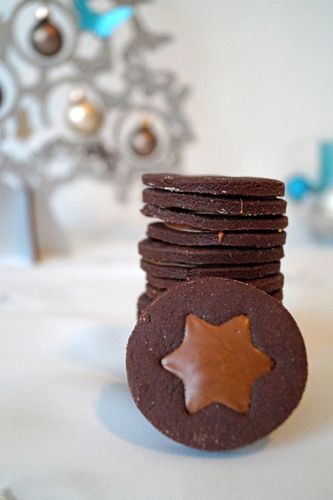
Praline Coins
For the cookies:
250g all-purpose flour
50g sugar
50g dutch processed cocoa
1 egg
125g softened butter
50g dark chocolate
For the filling:
100g hazelnut praline
1. Melt the dark chocolate
2. Mix the sugar with the cocoa and, with an electric mixer, whisk together with the butter until well combined.
3. Add the melted chocolate and the egg and whisk for a minute or so.
4. Add the flour and mix until you have smooth dough (if you started mixing with your , you should switch to the dough hook before adding the flour). If it doesn't come together completely, knead with your hands for a couple of minutes.
5. Wrap the dough in cling film and refrigerate for at least half an hour.
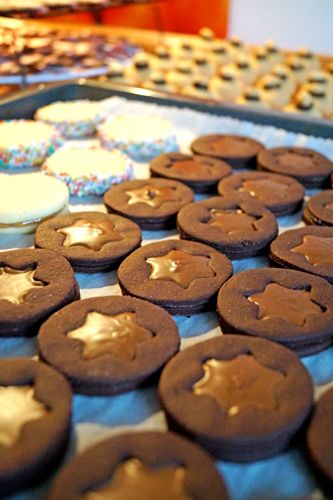
6. Roll out the dough thinly and cut out circles (mine are about 5 or 6cm in diameter). Take one half of the cookies and cut out a star in the middle. Those are gonna be the cookies that go on top.
7. Bake for about 20 minutes at 175°C
8. Once the cookies have cooled down, melt the hazelnut praline in a bain marie.
9. Spread a dollop (a little less than a teaspoon) on each bottom cookie, but make sure it doesn't completely cover the cookie, but leave a little space around the outer edges.
10. Take a top cookie and press it lightly onto the praline mixture. Now the praline will spread to the outer edges (which is why it's important to leave a little space when spreading the praline).
11. Voilá!
Enjoy!
♥ Nicole
Keine Kommentare:
Kommentar veröffentlichen